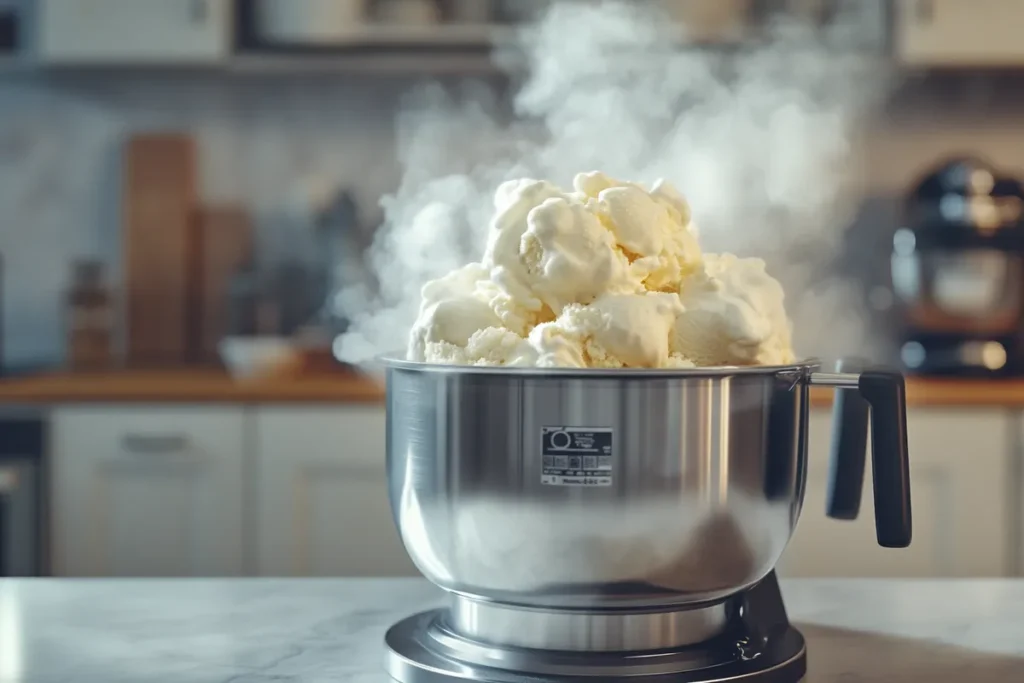
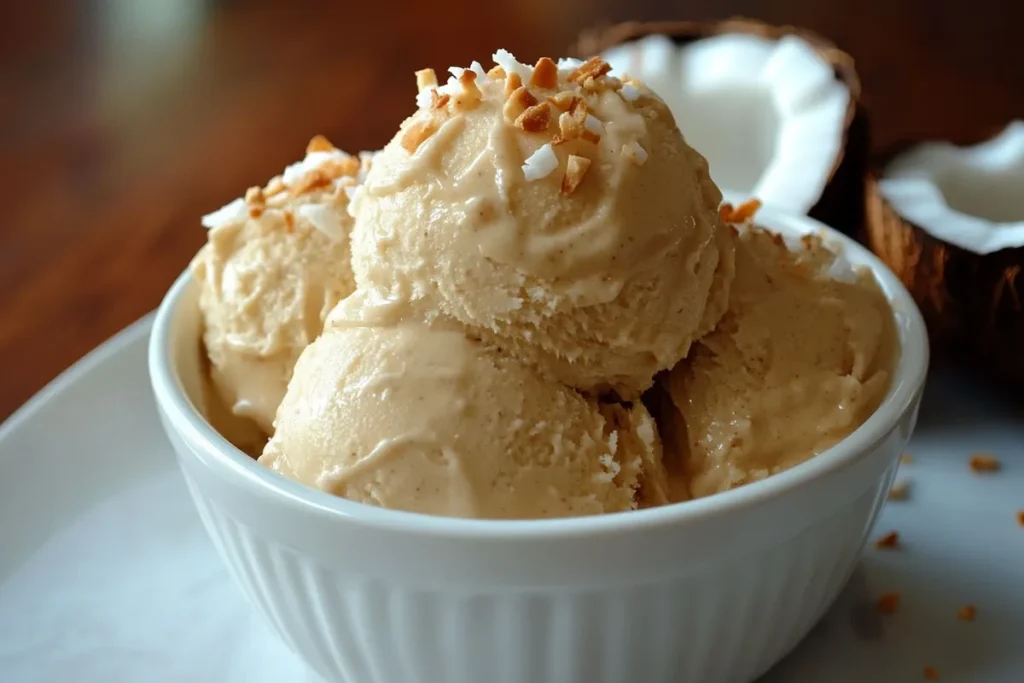
Imagine savoring a scoop of homemade ice cream that’s both velvety and delightful, crafted effortlessly with your KitchenAid ice cream maker. If you’ve ever pondered how to create the ultimate ice cream at home, you’re in the right place. This KitchenAid ice cream recipe will revolutionize your dessert repertoire, making you the star of every summer gathering. Whether you’re a seasoned ice cream aficionado or a beginner eager to impress, this recipe is your gateway to creamy bliss. Bid farewell to store-bought ice cream and embrace a world of endless flavor possibilities.
Table of Contents
Quick Facts
- Prep Time: 15 minutes
- Cook Time: 25 minutes (churning time)
- Additional Time: 4 hours (freezing time)
- Total Time: 4 hours 40 minutes
- Servings: 8
- Difficulty: Easy
Why You’ll Love This KitchenAid Ice Cream Recipe
This KitchenAid ice cream recipe is a game-changer for several reasons. First and foremost, it’s incredibly easy to make, thanks to the KitchenAid ice cream maker attachment that handles all the heavy lifting for you. The result is a rich and creamy texture that’s difficult to achieve with traditional methods.
This recipe is family-friendly, allowing you to customize flavors to suit everyone’s taste preferences. Additionally, it’s a healthier alternative to store-bought ice cream, as you have complete control over the ingredients, ensuring no artificial additives or preservatives. Picture the joy of serving a bowl of ice cream made with love, where every bite is a testament to your culinary prowess.

Ingredient Overview
The beauty of this KitchenAid ice cream recipe lies in its simplicity. The primary ingredients include heavy cream, whole milk, sugar, and vanilla extract. Each component plays a vital role in achieving the perfect creamy texture and flavor. The heavy cream provides richness, while the whole milk ensures a smooth consistency. Sugar sweetens the mixture, and vanilla extract adds a delightful aroma and taste. If you’re feeling adventurous, you can substitute vanilla with other flavors like almond or mint extract. For those watching their sugar intake, consider using a sugar substitute that suits your dietary needs.
Special Tips for KitchenAid Ice Cream Recipe
To elevate your KitchenAid ice cream recipe, consider these insider tips. First, ensure your ice cream maker bowl is thoroughly frozen before starting; this guarantees the best texture. When mixing your ingredients, avoid over-whisking to prevent incorporating too much air, which can lead to a grainy texture. For a richer flavor, let the ice cream base sit in the refrigerator for a few hours before churning. This allows the flavors to meld beautifully. Lastly, don’t be afraid to experiment with mix-ins like chocolate chips, fruit, or nuts for added texture and variety.
Ingredients List
- 2 cups heavy cream
- 1 cup whole milk
- ¾ cup granulated sugar
- 1 tablespoon vanilla extract
- Pinch of salt
Step-by-Step Directions
Step 1: Gather Your Ingredients and Equipment
Before you start, ensure you have all your ingredients and equipment ready. This includes your KitchenAid ice cream maker attachment, a large mixing bowl, a whisk, and an airtight container for storage.
Step 2: Mix the Ice Cream Base
In a large mixing bowl, combine the heavy cream, whole milk, sugar, vanilla extract, and a pinch of salt. Whisk gently until the sugar is fully dissolved and the mixture is smooth.
Step 3: Chill the Mixture
Cover the bowl with plastic wrap and refrigerate for at least 2 hours. This chilling step is crucial for developing the flavors and ensuring a smooth texture.
Step 4: Prepare the KitchenAid Ice Cream Maker
Attach the frozen KitchenAid ice cream maker bowl to your stand mixer. Ensure it’s securely locked in place and ready for churning.
Step 5: Pour and Churn
Pour the chilled ice cream mixture into the bowl. Turn the mixer to the lowest speed and churn for about 20-25 minutes, or until the mixture thickens to a soft-serve consistency.

Step 6: Transfer to a Container
Once churned, transfer the ice cream to an airtight container. Smooth the top with a spatula, and cover with plastic wrap, pressing it directly onto the surface to prevent ice crystals.
Step 7: Freeze Until Firm
Place the container in the freezer for at least 4 hours or until the ice cream is firm enough to scoop. Enjoy your homemade delight!
Nutrition Facts (Per Serving)
- Calories: 250
- Fat: 18g
- Carbs: 22g
- Protein: 3g
- Sugars: 21g
- Cholesterol: 70mg
- Sodium: 40mg
How to Store
Refrigerator
Homemade ice cream should be stored in the freezer, not the refrigerator, to maintain its consistency. If you need to soften it slightly before serving, let it sit at room temperature for a few minutes.
Freezer
Store the ice cream in an airtight container to prevent freezer burn. For best results, consume within two weeks to enjoy optimal flavor and texture.
To Reheat
If your ice cream becomes too hard, let it sit at room temperature for 5-10 minutes before scooping. Avoid microwaving as it can alter the texture.
Substitutions and Variations
Make It Vegetarian
This recipe is already vegetarian-friendly, but you can use plant-based milk and cream for a vegan version.
Experiment With Protein
Add protein powder to the mixture for a post-workout treat. Opt for a flavor that complements vanilla, like chocolate or strawberry.
Experiment With Vegetables
For a unique twist, incorporate pureed avocado or pumpkin into the ice cream base for added creaminess and flavor.

Frequently Asked Questions (FAQ)
Q: Can I use low-fat milk instead of whole milk?
A: Yes, but it may result in a less creamy texture. Whole milk is recommended for the best results.
Q: How long should I freeze the ice cream maker bowl?
A: For optimal results, freeze the bowl for at least 15 hours before use.
Q: Can I add fruit to the ice cream?
A: Absolutely! Add fruit puree or small fruit pieces during the last few minutes of churning.
Q: Is it possible to make this recipe without a KitchenAid ice cream maker?
A: While the KitchenAid ice cream maker simplifies the process, you can churn manually, although it requires more effort.
Q: How can I prevent ice crystals in my ice cream?
A: Ensure the mixture is well-chilled before churning and use an airtight container to store the ice cream.
Conclusion
In conclusion, this KitchenAid ice cream recipe is a delightful way to enjoy homemade ice cream with minimal effort. Its creamy texture and rich flavor make it a standout dessert, perfect for any occasion. Don’t hesitate to try this recipe and share your results with friends and family. We’d love to hear about your flavor experiments, so leave a comment below or subscribe for more delicious recipes. Enjoy your homemade ice cream journey!

Irresistible KitchenAid Ice Cream Recipe Delight
Ingredients
- 2 cups heavy cream
- 1 cup whole milk
- ¾ cup granulated sugar
- 1 tablespoon vanilla extract
- Pinch of salt
Instructions
- Gather all ingredients and equipment, including the KitchenAid ice cream maker.
- In a large bowl, whisk together heavy cream, milk, sugar, vanilla, and salt.
- Cover the mixture and refrigerate for at least 2 hours.
- Attach the frozen KitchenAid ice cream maker bowl to your stand mixer.
- Pour the chilled mixture into the bowl and churn on low speed for 20-25 minutes.
- Transfer the churned ice cream to an airtight container and smooth the top.
- Freeze the ice cream for at least 4 hours until firm.

