Have you ever been captivated by the idea of baking your own sourdough bread but felt overwhelmed by the need for a starter? You’re certainly not alone. Many home bakers find the process of maintaining a sourdough starter to be time-consuming and challenging. What if I told you there’s a way to enjoy the distinctive tang and texture of sourdough bread without the starter? This sourdough bread recipe without starter is your solution, offering a straightforward method to achieve that beloved flavor using instant yeast. Prepare to embark on a baking journey that’s both simple and satisfying!
Table of Contents
Quick Facts
- Prep Time: 20 minutes
- Cook Time: 35 minutes
- Additional Time: 2 hours (for rising)
- Total Time: 2 hours 55 minutes
- Servings: 1 loaf
- Difficulty: Easy
Why You’ll Love This Sourdough Bread Recipe
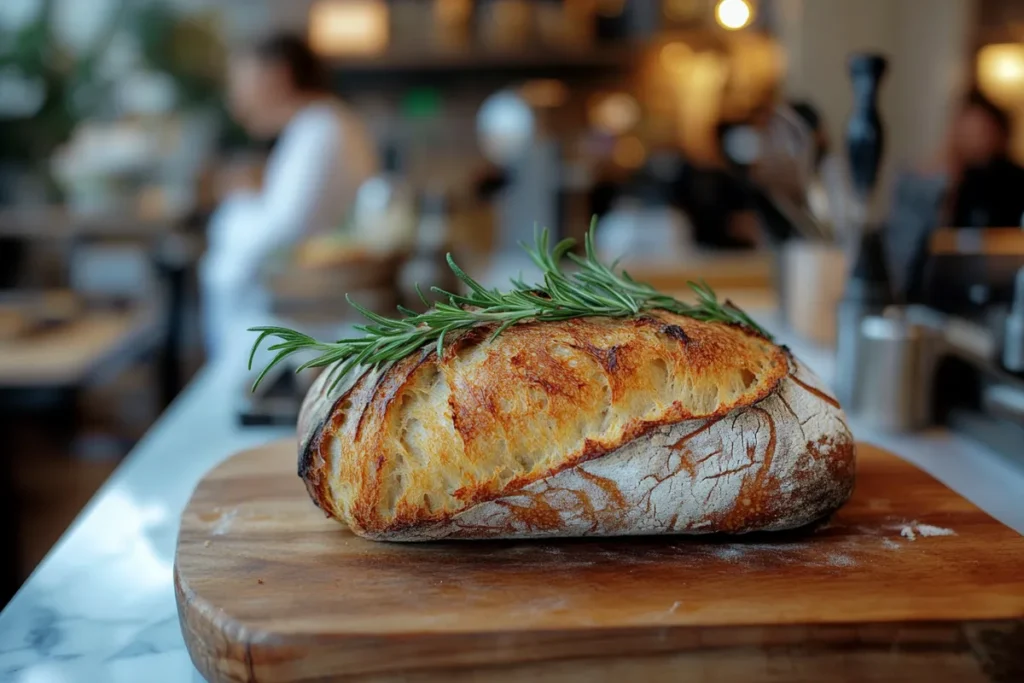
This sourdough bread recipe without a starter is a revelation for bread enthusiasts. It caters to those who crave the unique sourdough taste but lack the time or patience to nurture a starter. The recipe is uncomplicated, utilizing instant yeast to mimic the sourdough flavor without the hassle. The result is a loaf with a crisp crust and a soft, chewy interior that will have you reaching for another slice.
Whether you’re new to baking or a seasoned expert, this recipe is a delightful addition to your baking endeavors. The simplicity of the ingredients and the ease of the method make it accessible for everyone. You’ll love how quickly you can prepare the dough and the satisfaction of watching it rise and transform into a beautiful loaf.
Moreover, the flexibility of this recipe allows you to experiment with different flavors and textures, making it a versatile addition to your culinary repertoire. With this sourdough bread recipe without starter, you’ll enjoy the best of both worlds: the complex taste of sourdough and the convenience of modern baking techniques.

Ingredient Overview
The primary ingredients in this sourdough bread recipe without starter are simple yet effective. Flour provides the structure and texture, acting as the backbone of the bread. The choice of flour can greatly influence the final outcome, with all-purpose flour offering a light, airy crumb and whole wheat flour adding a denser, more nutritious profile.
Instant yeast is the key player in this recipe, creating rise and contributing to the sourdough-like flavor. Unlike traditional sourdough starters, which require regular feeding and maintenance, instant yeast offers a convenient alternative. It activates quickly and works efficiently, ensuring a reliable rise every time.
Water is essential for hydrating the flour and activating the yeast, binding the ingredients together into a cohesive dough. The temperature of the water plays a crucial role; lukewarm water is ideal for encouraging yeast activity without risking overheating, which can kill the yeast.
A pinch of salt enhances the taste, balancing the flavors and adding depth to the bread. If you’re seeking substitutions, consider using whole wheat flour for added nutrition or incorporating a tablespoon of olive oil for a richer flavor profile. The beauty of this recipe lies in its simplicity, allowing you to customize it to suit your preferences while maintaining the essence of sourdough without starter.
Special Tips for Perfect Sourdough Bread
To elevate your sourdough bread without starter, consider these expert tips. First, use lukewarm water to effectively activate the yeast, ensuring a good rise and a light, airy crumb. The temperature of the water is crucial; it should feel warm to the touch but not hot, approximately 105°F to 110°F. This encourages the yeast to thrive, leading to a beautifully risen dough.
For a deeper sourdough flavor, allow the dough to rise longer—overnight in the refrigerator can work wonders. This extended fermentation period develops complex flavors, mimicking the tanginess of traditional sourdough. Simply cover the dough and let it rest in the fridge, then bring it to room temperature before baking.
Additionally, scoring the dough before baking not only creates a beautiful pattern but also allows the bread to expand evenly. Use a sharp knife or a bread lame to make shallow cuts on the surface of the dough. This step is both functional and aesthetic, enhancing the final presentation of your loaf.
Finally, baking the bread in a preheated Dutch oven traps steam, resulting in a perfectly crusty exterior. The steam helps the bread expand during the initial baking phase, creating an airy crumb and a crisp crust. If you don’t have a Dutch oven, a baking stone or a heavy-duty baking sheet with an oven-safe bowl of water can achieve similar results.
Ingredients List
- 3 ½ cups all-purpose flour
- 1 ½ teaspoons salt
- 1 teaspoon sugar
- 1 packet (2 ¼ teaspoons) instant yeast
- 1 ½ cups lukewarm water
Step-by-Step Directions
Step 1: Gather Your Ingredients
Begin by assembling all the necessary ingredients. Ensure you have fresh instant yeast for optimal rise and flavor. Measure out your flour, salt, sugar, and water. Having everything ready will streamline the process, allowing you to focus on creating the perfect dough.

Step 2: Mix the Dry Ingredients
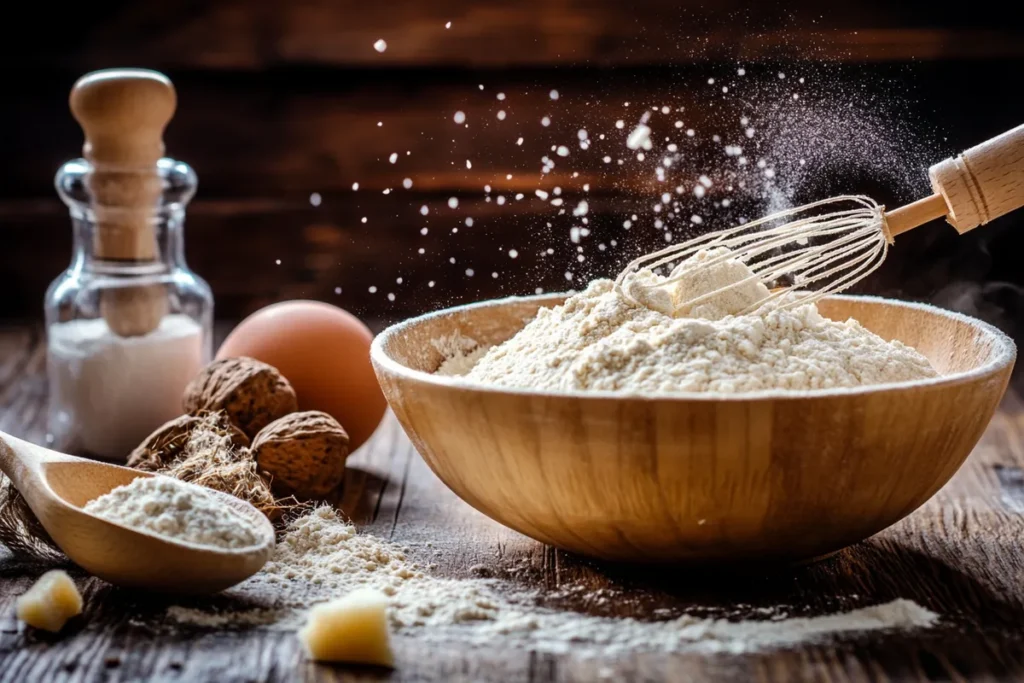
In a large mixing bowl, combine the flour, salt, and sugar. Stir these dry ingredients together with a whisk to ensure even distribution. This step is crucial for achieving a uniform texture in your bread, preventing any pockets of salt or sugar from affecting the dough’s consistency.
Step 3: Activate the Yeast
Sprinkle the instant yeast over the dry ingredients. Gradually pour in the lukewarm water while stirring with a wooden spoon. Continue to stir until a shaggy dough forms. This initial mixing phase is about hydrating the flour and beginning the gluten development, setting the stage for a well-structured loaf.
Step 4: Knead the Dough
Transfer the dough to a lightly floured surface. Knead the dough for about 10 minutes, adding a little more flour if the dough is sticky. The goal is a smooth and elastic dough. Kneading is essential for developing gluten, which gives the bread its chewy texture and helps it rise properly.
Step 5: Let the Dough Rise
Place the kneaded dough in a lightly oiled bowl. Cover with a damp cloth and let it rise in a warm place for about 1 hour or until it has doubled in size. This first rise, or fermentation, allows the yeast to produce carbon dioxide, which leavens the bread and enhances its flavor.
Step 6: Shape the Dough
After the first rise, punch down the dough to release excess air. Shape it into a round loaf and place it on a parchment-lined baking sheet. Shaping the dough gives it structure, ensuring it rises evenly during baking and results in a uniform crumb.
Step 7: Second Rise and Preheat
Cover the shaped dough with a towel and let it rise for another 30 minutes. Meanwhile, preheat your oven to 450°F (232°C). The second rise, or proofing, is shorter, allowing the dough to relax and prepare for baking. Preheating the oven ensures a consistent baking environment, crucial for achieving a perfect crust.
Step 8: Score and Bake
Using a sharp knife, score the top of the dough. This allows the bread to expand and prevents it from cracking during baking. Bake in the preheated oven for 30-35 minutes or until the crust is golden brown and the loaf sounds hollow when tapped. Scoring is both an art and a science, adding a decorative touch while controlling the bread’s expansion.
Nutrition Facts (Per Serving)
- Calories: 150
- Fat: 0.5g
- Carbs: 32g
- Protein: 4g
- Sugars: 0.5g
- Cholesterol: 0mg
- Sodium: 290mg
How to Store
Refrigerator
To keep your sourdough bread without starter fresh for a few days, wrap it in a clean kitchen towel and store it in a bread box or airtight container for up to 3 days. This helps maintain the bread’s moisture and prevents it from drying out. Avoid storing bread in the refrigerator, as the cold environment can cause it to stale faster.
Freezer
For longer storage, slice the bread and place it in a zip-top bag. Freeze for up to 3 months. When you’re ready to enjoy, simply thaw at room temperature or toast directly from frozen. Freezing preserves the bread’s freshness, allowing you to enjoy homemade sourdough without starter anytime.
To Reheat
To reheat, place slices in a toaster for a quick warm-up. Alternatively, warm the entire loaf in a preheated oven at 350°F (175°C) for about 10 minutes to revive its crusty texture. Reheating in the oven helps restore the bread’s original qualities, making it taste as if it were freshly baked.
Substitutions and Variations
Make It Vegetarian
This bread is naturally vegetarian, but you can enhance it by adding seeds or nuts for added texture and nutrition. Consider incorporating sunflower seeds or flaxseeds into the dough. These additions not only boost the nutritional profile but also add a delightful crunch to each slice.
Experiment With Protein
Boost the protein content by adding ingredients like chia seeds or hemp hearts to the dough. These additions not only increase nutritional value but also add a delightful crunch. Chia seeds, in particular, can absorb moisture and create a gel-like texture, contributing to the bread’s softness.
Experiment With Vegetables
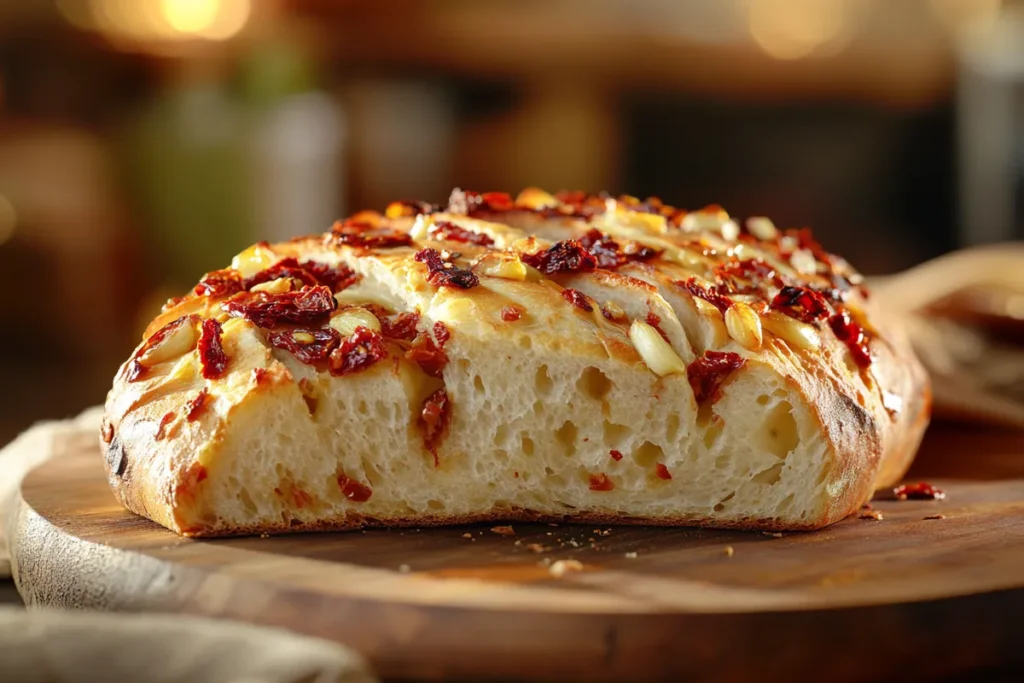
Incorporate roasted garlic or sun-dried tomatoes into the dough for a flavorful twist. These additions can transform your loaf into a savory delight, perfect for pairing with soups or salads. Roasted garlic adds a subtle sweetness, while sun-dried tomatoes offer a burst of umami flavor.

Frequently Asked Questions (FAQ)
Q: Can I use active dry yeast instead of instant yeast?
A: Absolutely! Just remember to activate it in warm water with sugar before incorporating it into the flour mixture. This step is crucial for ensuring the yeast is fully dissolved and ready to work its magic in the dough.
Q: How do I know when the bread is fully baked?
A: The crust should be a deep golden brown, and the loaf should sound hollow when tapped on the bottom. If you’re unsure, you can also use a thermometer; the internal temperature should reach around 200°F (93°C).
Q: Can I use whole wheat flour?
A: Yes, you can substitute up to half of the all-purpose flour with whole wheat flour to maintain the bread’s texture while adding a nutritional boost. Whole wheat flour adds fiber and a nutty flavor, enhancing the bread’s overall profile.
Q: Why is my bread not rising?
A: Ensure your yeast is fresh and the water temperature is not too hot, as excessive heat can kill the yeast and prevent the dough from rising. Also, check that the dough is placed in a warm, draft-free environment for optimal rising conditions.
Q: Can I add herbs to the dough?
A: Certainly! Fresh herbs like rosemary or thyme can infuse your loaf with wonderful flavors. Simply chop the herbs finely and incorporate them into the dough during the mixing stage for an aromatic twist.
Conclusion
In conclusion, this sourdough bread recipe without starter offers a delightful way to enjoy the classic taste of sourdough without the commitment of maintaining a starter. It’s simple, delicious, and perfect for any occasion. I encourage you to try this recipe and share your results in the comments below. Don’t forget to subscribe for more exciting recipes and baking tips!

Mastering the Art of Sourdough Bread Without Starter
Ingredients
- 3 ½ cups all-purpose flour
- 1 ½ teaspoons salt
- 1 teaspoon sugar
- 1 packet instant yeast 2 ¼ teaspoons
- 1 ½ cups lukewarm water
Instructions
- Gather all necessary ingredients and ensure freshness of yeast.
- In a large bowl, mix flour, salt, and sugar thoroughly.
- Sprinkle instant yeast over dry ingredients and stir in lukewarm water.
- Knead dough on a floured surface for 10 minutes until smooth.
- Place dough in an oiled bowl, cover, and let rise for 1 hour.
- Punch down dough, shape into a loaf, and place on a baking sheet.
- Let dough rise for another 30 minutes while preheating oven to 450°F.
- Score the dough and bake for 30-35 minutes until golden brown.

